When thinking about what I wanted to do for this week's block, I determined that I wanted us to practice the skills of appliqueing in-y and out-y points. Out-y points being like the bottom point of a heart and in-y points being the middle point between the two top lobes of the heart. (I am sure there is a real name for these kind of points, but I am going to stick with in-y and out-y.) I probably should have just stuck with a simple flower (in-y) with a stem and leaf (out-y) but then I found this series of free applique patterns. I especially liked the patterns in the Applique Sampler section and the Rose and Tulip Cross pattern made my final cut.
............
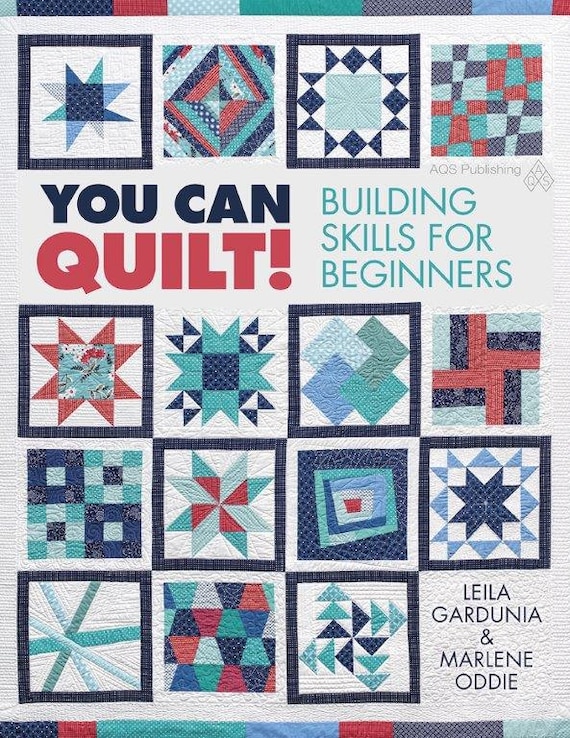
Edited (5/15): The Skill Builder Sampler will is available for purchase in book form! It has been renamed "You Can Quilt! Building Skills for Beginners" but covers the same skills with the easy, medium and challenging blocks and is a million times better than the original quilt along. It is perfect for the beginning quilter or the experienced quilter who wants to branch out and learn new skills. Find more information and order a signed copy in my Etsy shop or order on Amazon .
.
...................
I do not expect everyone to make this exact block. Everyone has different taste in applique patterns and I would hate for you to spend hours stitching something you hated. Feel free to choose any of the patterns on Free Quilt Patterns site, make your own pattern or simply applique a couple of hearts to your background fabric. The one thing I want all of the Block 21s to have in common are in-y and out-y points. Last week's block should have given you a taste of the different types of applique. This week you many use your favorite applique method: needle turn, freezer paper, cheater needle turn or raw edge applique. You many machine or hand stitch the fabric onto the background fabric.
The first step for this week's block is to cut a piece of background fabric at least 13.5 inches square. Then mark the center and diagonal lines as shown below. This will help you center your image. You can either mark the lines with a marking pen/pencil or by ironing them in.
Then choose your design (or draw it) and print it out. Transfer the design to the top of the background fabric. You can use transfer paper, a light box or the tried and true tape-it-onto-the-window method.
I thought I would save myself the hassle of taping my fabric on top of the pattern by having my daughter hold the fabric for me -- Don't. She moved and my lines got off. Take the extra time to line up your center marking lines with the lines on the pattern and tape the fabric firmly in place. Trace the pattern with a fabric marker. Repeat for all four quadrants.

Using your applique method of choice start adding the applique elements. Look to see which pieces should be added first. For example in this pattern I am starting with the stems because I can tuck their ends under the flowers.
Here is a great video that shows how to do in-y and out-y points with needle turn applique. The same trimming, clipping and folding techniques for points can be applied to all types of applique. It also shows a method for transferring your pattern using chalk paper at the end.
When you are done appliqueing on all of the elements, remove any marking lines with water and trim the block to 12.5 inches.
I hope this is clear enough to get you started. I am no expert, so feel free to share any links to applique instructions that you have found helpful. I think the key to making this block is just jumping in feet first. Don't worry too much, just do your best. My block will not be winning any contests, but I am having fun so far. So pick out a pattern, get your pieces prepped and start stitching away while you watch The Christmas Story.
Have a Merry Christmas and a Happy New Year!


I think I might do freezer paper to prepare them, but machine stitch it to the background like in the raw edge applique, with a thinner stitch, because that hand-quilting with the last block almost did me in!
ReplyDeleteHappy Christmas Leila
ReplyDeleteI thought I would never attempt a 'Baltimore' style applique pattern, but I've chosen a really easy one from the sites you provided, and have printed off the pattern, template and instructions. With each step I'm becoming more confident about doing it, but it may not be finished for another week or so. Still, I'm having a go at it, which would not have happened if I'd not found your blog when I did!
ReplyDeleteIt's done! I cheated a bit and machined stitched the bits to the background (I usually hand stitch applique). It has been so hot here in Melbourne, I just wanted to get this block finished quickly so I could go back to snoozing on the sofa under the ceiling fan ;-)
ReplyDelete