Showing posts with label Crazy Quilt Along. Show all posts

Thursday, April 14, 2011

Crazy Quilt Along #8 - Sashing

Today we will be joining our crazy quilt blocks with sashing.  (For earlier Crazy Quilt Along posts click here.)

While it is not absolutely necessary to use sashing between the blocks in your crazy quilt I would highly recommend it, especially if you are using heavy weight fabrics.  Imagine trying to sew over 4 layers of denim and 2 layers of foundation fabric - not pretty.


For the sashing on my quilt I cut 24 pieces of fabric 2 x 9.5 inches.  Lay out your blocks as desired and sew the sashing strips between the blocks until each row is sewn together.  I normally don't pin when I sew and that was a mistake with this project.  Because the thickness and layers of fabric in the block the sashing strip tended to shift.  Multiply small shifts in the fabric across a row and well, this quilt isn't going to win any awards.  Learn from me - Pin!


Once the rows are completed, cut a piece of fabric as long as your row length - piece if necessary.  I needed a piece 2 x 51.5 inches.  Sew the rows together.


And Voila!  Your crazy quilt top.  
(It's not really narrower at the bottom - the wind was blowing it away from me, I promise!)


I think this is one of my favorite blocks.
Coming soon:  Quilting Options.

How Embarrassing!


Wednesday, March 30, 2011

Crazy Quilt Along #7 - Liberated Fans

Fans are a common motif in traditional crazy quilts.  

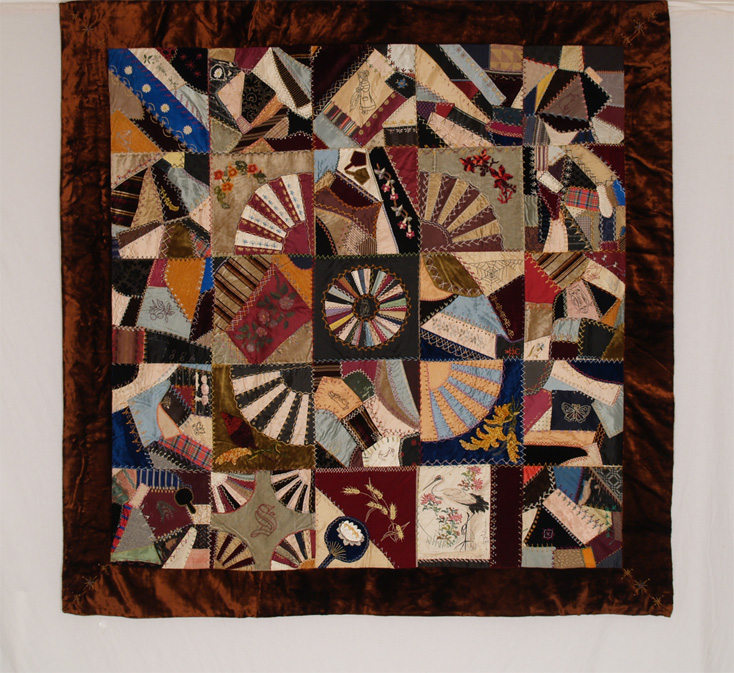
This crazy quilt is made entirely of fan blocks (source).


While this one features fans in selected squares (source).  While the quilts are crazy, the fans are not.  They are pieced with exactness.  I am going to deviate from tradition and will show you how to make "liberated" fans.  Cheater fans if you will.


Step 1:  Cut 5 or 6 wedge shaped pieces of fabric 6-7 inches long.  Don't stress too much over it.  Just cut.  They don't have to all be the same, in fact the ones on the edges should be shorter than the one in the middle. If it makes you feel more comfortable you can use one of your "favorite" wedges as a rough pattern for the others.


Step 2:  As you cut, lay out your wedges on the foundation fabric to check that they cover the block.


Step 3:  Sew them together off of the foundation fabric.  Let me say that again because the pictures are deceptive - Do not attach the fan to your foundation.  Add any fancy machine top stitching you desire.


Step 4:  Check to make sure the fan is large enough and trim edges.  The seam allowances will cause the size of the fan to shrink and you may have to add another wedge to the edge (I love how that rhymes).  Mine shrunk but was just wide enough to work.  Trim off any rough edges and fashion a smooth curve along the top and bottom edges.


Step 5:  Free hand cut a quarter of a circle.  I like to error on the side of safety and cut mine too large and trim off any excess from the sides.


Step 6:  Turn under the edge 1/4 of an inch (or so) and top stitch onto the fan and foundation fabric.  Add decorative stitching as desired.


Step 7:  Place a piece of fabric under the top of the fan and do a rough trim around the edge of the foundation block.


Step 8:  Lift the fan and trim away any excess fabric.


Step 9:  Turn under the top of the fan 1/4 inch and top stitch to the background and foundation fabric.  Add decorative stitching as desired (or in my case trim).


Step 9:  Trim you block to size - 9 1/2 inches.  Fini!


Here are some other fan blocks I made.  This one ended up smaller and lopsided, but I kinda like it.  I added some trim and another patch in the upper corner so the rest of the block didn't look so empty.  I also used a straight piece as the center of the fan, instead of circular.


This one had skinnier wedges so I used 6 instead of 5.  Can you tell I have a thing for ric rac?  It curves well and is so cheerful!

 If you have any questions let me know.  I hope to see some fun liberated fans on the ORBQA fickr page.

Monday, March 21, 2011

Crazy Quilt Along #6 - Stitch and Slash

This block is quite fun to make. 

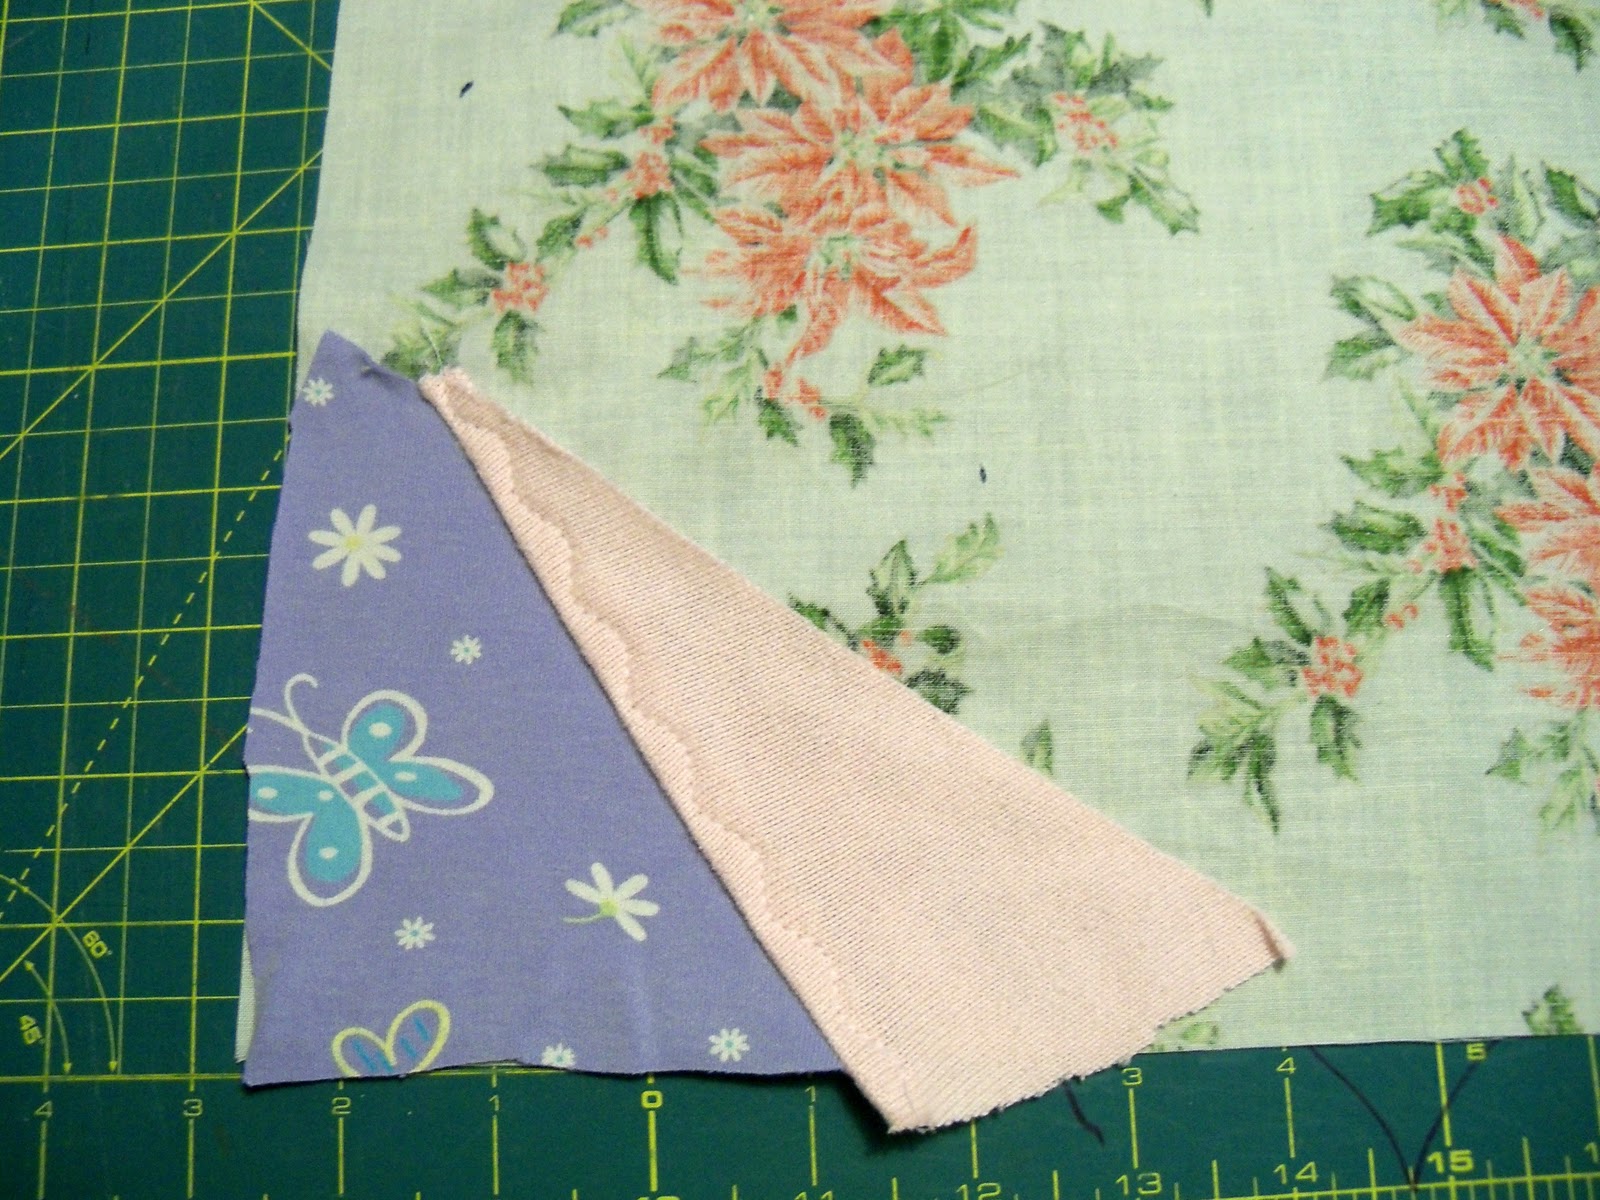
1.  Start off with four squares of fabric between 9 and 7 inches "square".  Of course, they don't have to be square, because this is a crazy quilt after all.


2.  Sew the four pieces into a 4-patch block.  Add trim and decorative stitching as desired.  (Notice how mine isn't quite at all square?  That's ok, because we are going to be cutting it up anyway.


3.  Cut - Make a semi-random cut across your fabric.  One thing to keep in mind when planning your cut is,  "Is the length of this cut more or less equal to the length of one of the other sides?"  Because what we are going to to next is....


4.  Take the cut section and line it up with another side of the block.  If your cut piece needs to be longer or shorter feel free to sew on a scrap or slash off a hunk.


5. Sew the cut piece onto the block.  Add decorative stitching and trim as desired.


6.  Slash off another hunk of fabric.  The idea is to cut up and distribute the different pieces of fabric throughout the finished block.  Here I cut a swath off the bottom of the block.


7.  Line it up with another side...


8.  And sew it on.  Take a second to look at your block.  Where are there still large pieces of fabric?  What can be done to cut and distribute them?  In this block the bright pink plaid and light pink solid are still pretty big, so I cut into them next.


9.  I cut right across the block (and trimmed up a side while I was at it.)  Don't be afraid to really slash the block apart - it all works out in the end, I promise.  :)


10.  Reposition - I flipped the fabric down to the bottom of the block and sewed it together.


11.  Evaluate - The block is starting to look pretty crazy, so I put my ruler on top of the fabric to see what the final block would look like.  The fabric is bigger than I thought it was and I could place the ruler here....

...or here.  I like this second position better because the pieces of fabric are smaller and more "crazy."  The only problem is that I don't have quite enough fabric in the upper right hand corner.


...so I add some.


12.  And do the final trim.


13.  Oooh and Ahhh as desired.  ;)

And don't worry, that large leftover piece is going to be the starting point for my next block.

Here is another block made with the same method.

Go give it a try and remember to post your pics at the Old Red Barn Co. Quilt Along site on flickr.

If you have any questions, let me know.

Saturday, March 12, 2011

Crazy Quilt Along #5 - Corner Start Block

Alright, today I'll show you how to make a corner start block.  It is sometimes called a landscape block because of how the fabric in the finished block looks like rolling hills.  The same steps are used in making this block as the center start block.

Step 1:  Place a piece of fabric in the corner of your foundation block 

Step 2.  Audition, sew and top stitch your next piece of fabric

And the next...

And the next...

The piece of denim I added had a finished edge in one side, but I didn't top stitch it down right away.

I added another piece of fabric...

...and then zig-zagged it down.

Keep adding fabric.  The curved coral piece was pressed under and top stitched directly to the block.  I find that is the easiest way to add curved pieces.


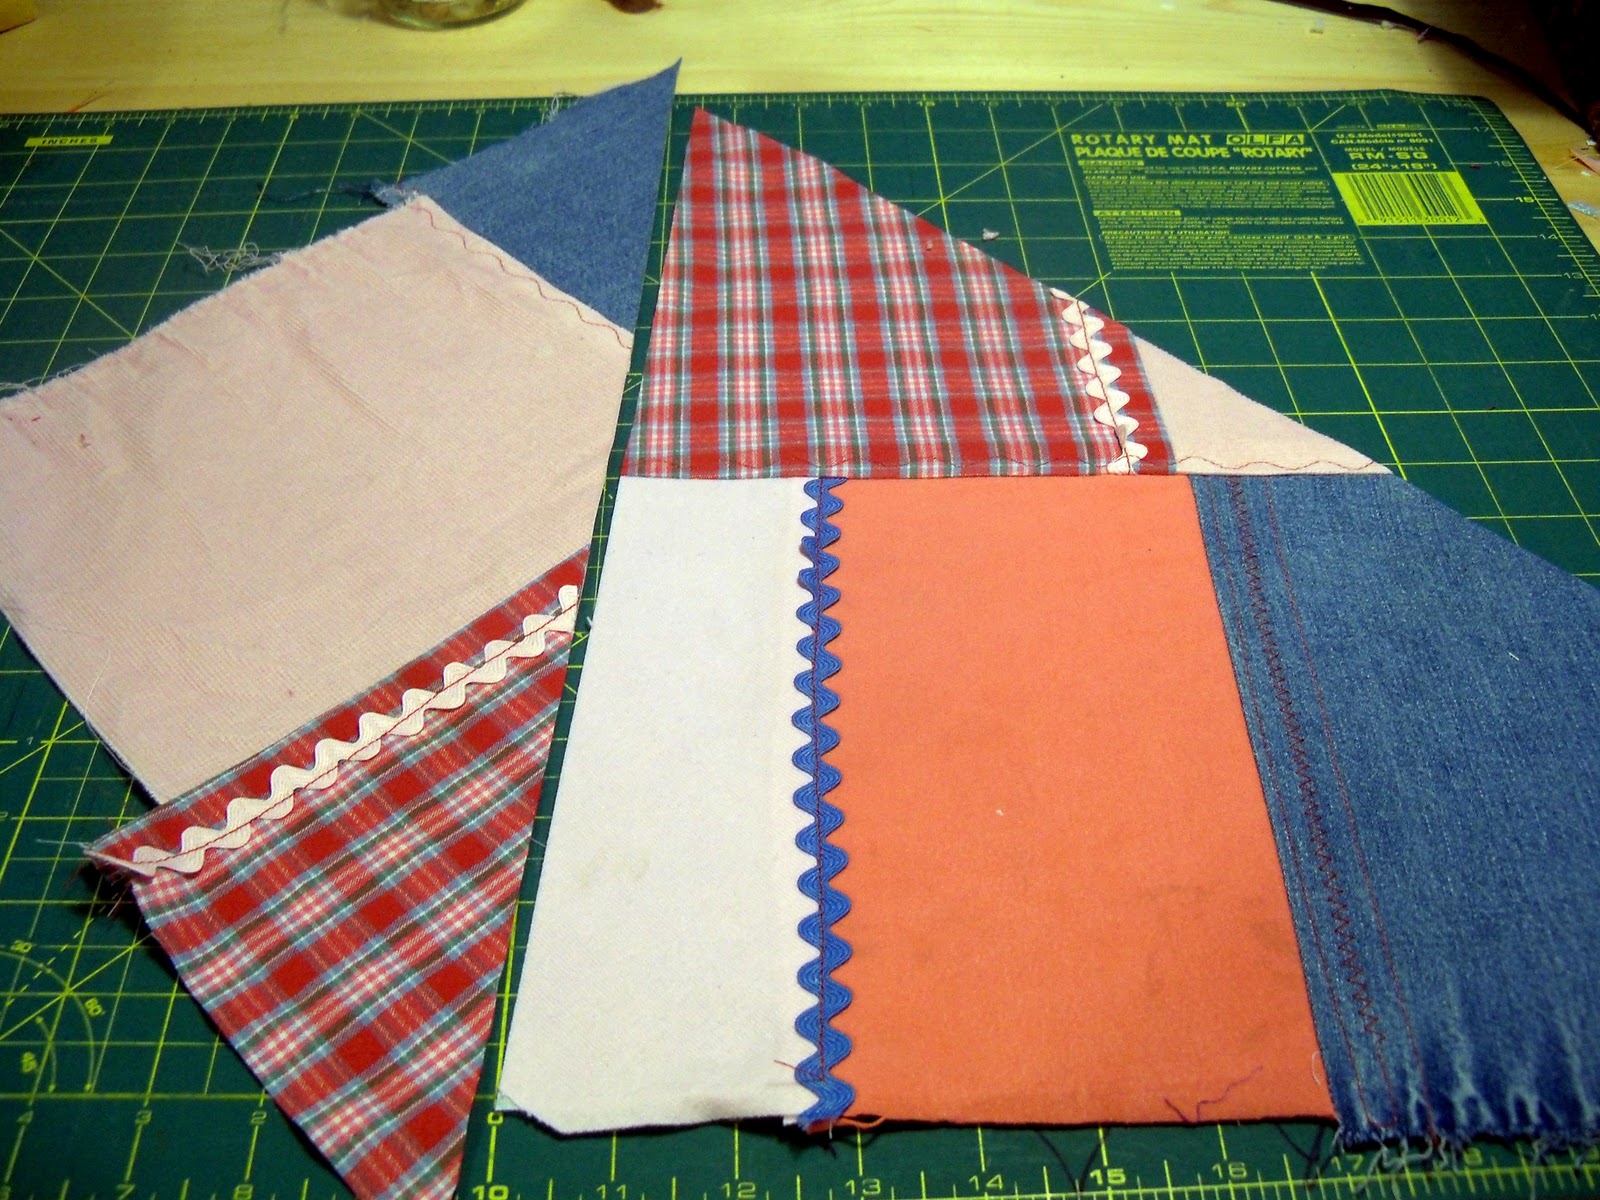
Ahhh...Finally, something new.  Let me show you a trick for attaching trims in your seams.  This works especially well for laces.

First, cut your trim to the right length.

Sew the trim to the RIGHT SIDE of the fabric you are attaching to the block. 

Place the fabric and trim on the block right sides together.

Sew together, stitching just to the left of the stitching line left by sewing on the trim.

Flip.  Top stitch if desired and Voila!  The perfect amount of trim peeking out.

Just a few more pieces to sew on...

...and we are done.

Trim the block down to 9 1/2 inches (or whatever size you are making).

And admire your handiwork.  :)

Here is another one I made.  
It almost looks like a braid, huh?

Give this block a try and post your pictures on the ORBQA flickr page.