Showing posts with label curves. Show all posts

Friday, January 25, 2013

Friday Finds

I just wanted to give a shout out to some great resources that I have seen lately.


First the Make A Bag series at ikatbag.  Holy Uncontrollable Detail, Batman!  This series of post goes into amazing detail on bag shapes, straps, finishing and linings with more posts on the way.  It is not a series of tutorials, but an in depth discussion on bag theory so that you will be able to design and make your own bags.  You will want to keep reading even after the series is over to see the incredible things she makes for her kids from cardboard.  The woman is amazing!  And a hoot to boot.


The Curve it Up Quilt Along with the Quick Curve Ruler has been going for awhile, but I want to order a ruler and jump right in.  


Look at the latest block they made in the series - The Curve it Up Log Cabin - tutorial found here.  I think I am in love!  Check out the flickr group for more pictures.  Links to the block tutorials can be found in the flickr group discussion or on the side bar of Jenny's blog Sew Kind of Wonderful.

What great things have you seen lately?


Friday, June 22, 2012

36 - Alice Brooks Butterfly


 Months ago when we were paper piecing, someone sent me a link to this block and asked if it was possible to paper piece it.  No such luck.  In fact when I saw it I thought "there is no way I would EVER make that block" so of course I had to make it as one of the challenge blocks in the sampler.  :)

I had started to hand draft the block, but Marlene was a total hero and drafted it up for us in EQ7.  Thank you!!!

The Alice Brooks Butterfly Block incorporates the skills of using templates and sewing curves and inset seams.  It will certainly put all of the skills we have learned to the test.


Do you have what it takes to make this last block in the 
We Can Do It! Skill Builder Sampler?  :)
 (scroll down for instructions)
............


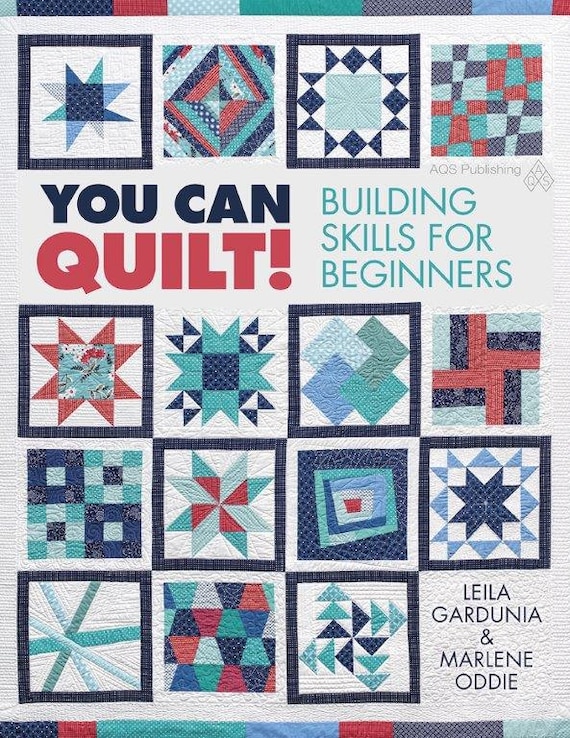
Edited (4/15):  The Skill Builder Sampler will soon be available for purchase in book form!  It has been renamed "You Can Quilt!  Building Skills for Beginners" but covers the same skills with the easy, medium and challenging blocks and is a million times better than the original quilt along.  It is perfect for the beginning quilter or the experienced quilter who wants to branch out and learn new skills.  Find more information and pre-order a signed copy in my Etsy shop or pre-order on Amazon.  The Skill Builder Sampler tutorials will remain up until the book is released.  After release, some will be removed.
............


 Step One:  Download the templates.  Save to your computer and print from the saved file.  Make sure the 1 inch line is really one inch.  Cut out the templates and gather your fabric.

 Step Two:  Cut out the templates.  Cut two of each template except for the wing wedges (template V) - cut six of them.
The two pieces of fabric need to be mirror images of each other (one for each side of the butterfly).  The easiest way to do this is to simply fold the fabric in half (right or wrong sides together), pin and cut out the piece.

 When you take them apart there will be two pieces that are mirror images of each other.  Sweet!

 If your scraps aren't big enough to fold, simply cut out one piece with the front of the template up...

Then flip the template over onto the backside and cut out the second piece.


Either method works equally well.

 Of course, you can always trace the template and cut around the line.  I like to pin my folded piece of fabric together before cutting to be sure that the fabric doesn't shift.
  
 Lay out all of the pieces.  Pay special attention to the background piece in the upper right and bottom left corner (template H).  It is almost, but not quite symmetrical and you don't want to get them mixed up.

 Step 3: Sewing
Sew together the three wing wedges (template V).

 Mark the middle of the quarter circle (template U) and wedges by ironing or marking with a pen.

 Pin the middle mark together.  Pin the ends together.  Ease the fabric in between the pins and pin again.  Carefully sew along the curve making sure to avoid puckers.  Slow and steady wins the race.

 Press.

 Sew the wing tip (template P) to the background piece (template H).


 Pin as shown.


 Sew on template D.

 Then add on template Q, the lower wing point.

 Join the two pieces together.  Line up the wedge seams with the seams between the wing points and background piece.  Pin at the seams.  Ease in the fabric and pin between the seams.  Sew.
  
 Press and give yourself a pat on the back!

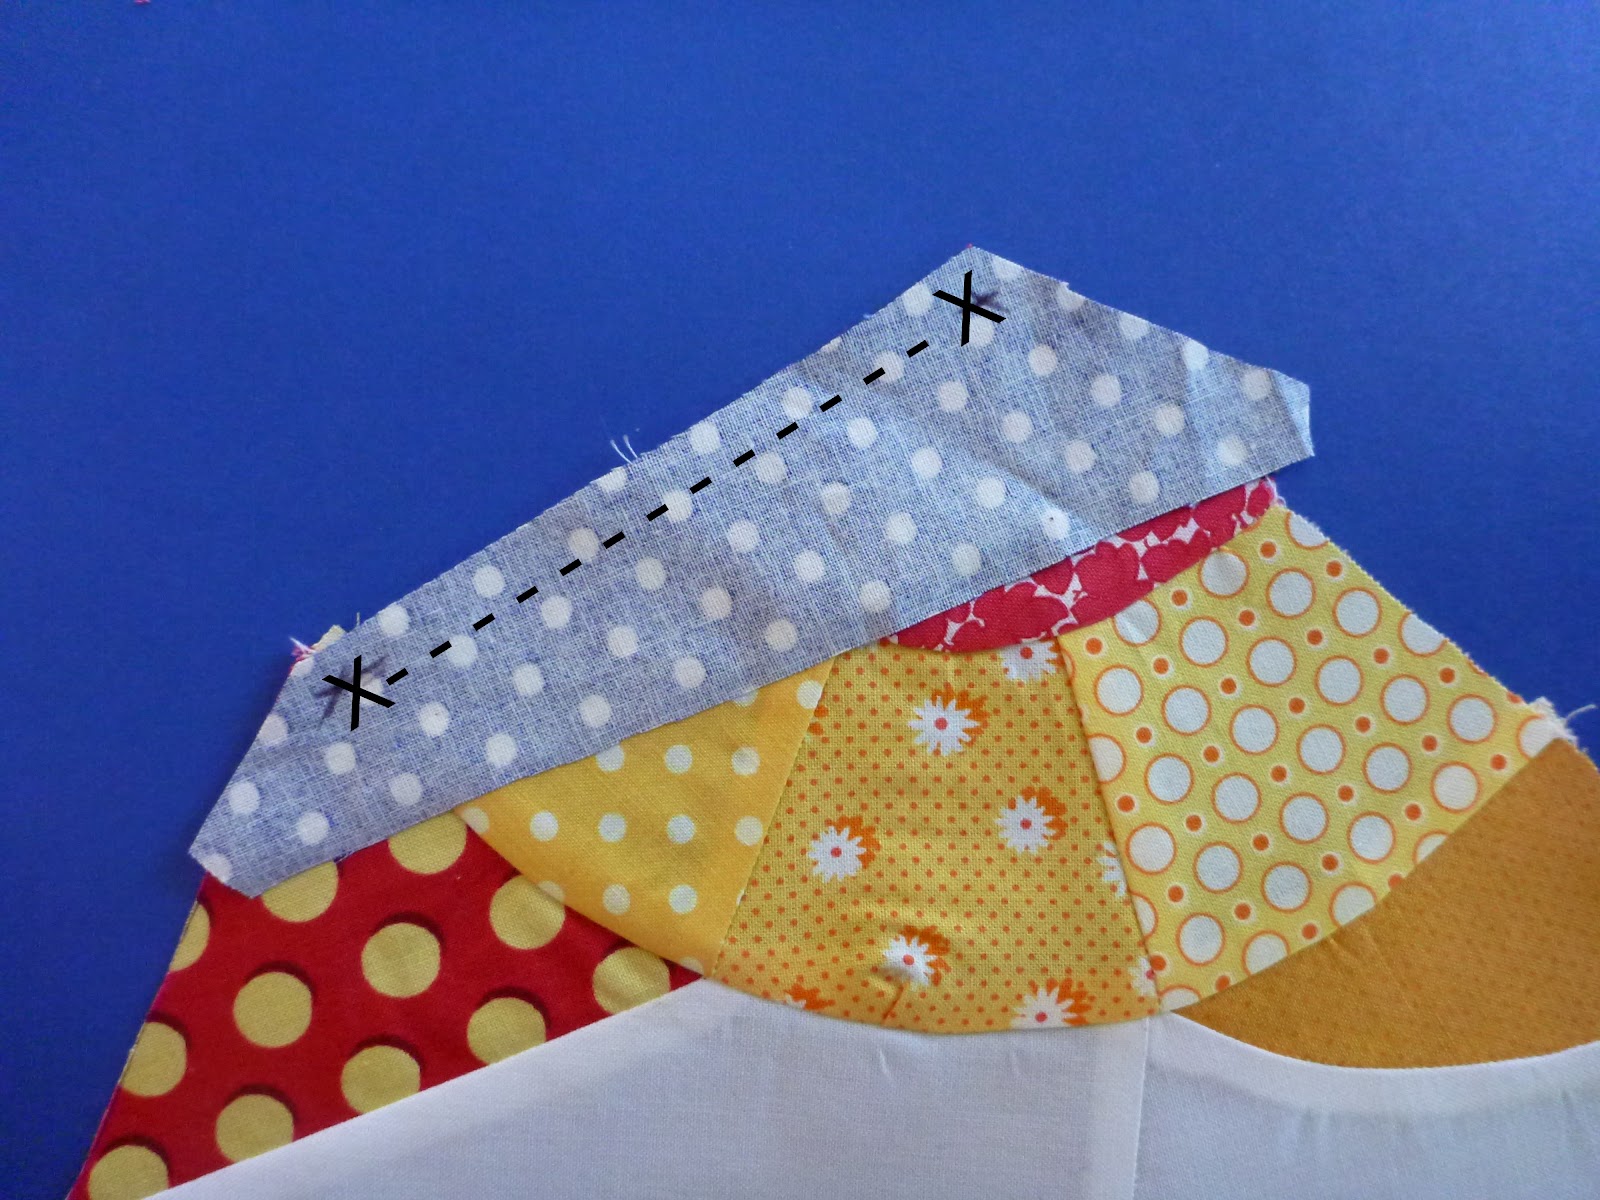
 Make a mark a quarter inch from both ends of template N, the butterfly torso.  Sew from mark to mark.

 Sew template E between the torso and bottom wing with inset seams.  Check out this post for a refresher on inset or y-seams.

 Press.

 Next, attach template I to the top of the butterfly.  Again make a mark a quarter inch in from the corner and use inset seams.

 Press.  Beautiful!

 The hard part is over!  Simply sew template J to the top of the butterfly unit.

 Repeat the process for the other half of the block.  Can you tell which half I made first? Eek!!  :)
Sew the halves together and trim to 12.5 inches square if necessary. 

Using a washable fabric marking pen draw on the butterfly antennae.  I followed the seam line for awhile and then curved down.  Use an embroidery or machine stitch to outline the antennae.

I machine stitched mine with the zigzag width at 2 and stitch length at .5.  I back stitched at the beginning and end of the antennae.


And that is it!  The last block in the We Can Do It! Skill Builder Sampler.  I can't believe it!  Not that it is over - we still have to get these blocks turned into a quilt.  We will work at a reasonable pace at that over the next few weeks to put the top put together.  Tune in next Friday for a giveaway and the first step for getting your blocks turned into a quilt.


Follow on Bloglovin

Tuesday, January 24, 2012

Applique and Curves Giveaway

Edited:
Giveaway Closed!
Miranda, you are our winner!  Congratulations!


This has been a crazy skill building couple of months - I think almost everyone felt stretched making the applique blocks.   Some of us have sworn never to touch the stuff again.  :)  But I realized that even though I am not great at it that applique is sure fun to do while watching my favorite shows.


Curves...I was nervous about these.  More nervous about using templates than the actual sewing.  Quilting is so precise that I figured I could never cut out the pieces as accurately as I needed to.  But again, it wasn't as bad as I thought.  I definitely see more Drunkard's Paths in my future.

If you want to try making more curved blocks check out some of these tutorials:
  1. Improv Curved Block from Sew Take a Hike:  Make 4 of these 6.5 inch blocks and sew together to make a 12.5 inch block
  2. Set In Circle Tutorial from Cut to Pieces
  3. Wonky Drunkard's Path by Needle and Spatula


If you completed all of the blocks, I think you deserve a prize.   I am offering a sample pack of 10 different Echino Nico prints.  Each piece is 9 inches square.

 You have three Chances to Win:

  1. Leave a comment saying you finished all three applique blocks
  2. Leave a comment saying you finished all three curved blocks
  3. Leave a comment saying you made an extra curved or appliqued bonus block (you can use the tutorials above or make up your own block - go crazy on me!)
Giveaway ends the morning of Friday, February 3rd.


Check out everyone's blocks at our Skill Builder Sampler flickr group!

P.S.  If you want more practice and instruction about sewing curves, check out Rachel from Stitched in Color's online Curves Class.  The class starts on Feb. 1st.

Friday, January 13, 2012

23 - Drunkard's Path


This week for the Skill Builder Sampler we are going to make a Drunkard's Path Block.  I love these quarter circle units - there are so many ways to arrange them and make different designs.  Today I am going to show you how to make your own Drunkard's Path templates and you can choose to make a block out of 6 inch, 4 inch or 3 inch Drunkards Path units.   (scroll down for instructions)
............


Edited (4/15):  The Skill Builder Sampler will soon be available for purchase in book form!  It has been renamed "You Can Quilt!  Building Skills for Beginners" but covers the same skills with the easy, medium and challenging blocks and is a million times better than the original quilt along.  It is perfect for the beginning quilter or the experienced quilter who wants to branch out and learn new skills.  Find more information and pre-order a signed copy in my Etsy shop or pre-order on Amazon.  The Skill Builder Sampler tutorials will remain up until the book is released.  After release, some will be removed.
............

Making the Template:

This is what we want to end up with:  a template for the inner circle and a template for the outer section.  The inner circle looks much larger than the outer section, but....

 ...if you slip it under the outer template so that the sides line up, you will see that they overlap by 1/2 an inch.  That gives each piece a 1/4 inch seam allowance - perfect!  It looks odd, but it works.


 So let's get started.  Decided what size you want your finished Drunkard's Path unit to be.  Mine were 6 inches square.  Add 1/2 inch to this measurement and cut out a square of card stock with those dimensions (6.5 inches).  I outlined the seam allowances so you could see them, but that isn't necessary at all.

Next, decided where you want the pieces to meet and draw a line - this is the seam line not the line for the template. I thought that a line 1.75 inches from the top and 4.75 inches from the bottom looked good.  Place the compass in the corner of the square and mark the seam line.

 Next measure down and up .25 inches from the seam line - these are the seam allowances for the templates. The outer section template needs a 1/4 inch seam allowance below the seam line.  The inner circle needs a 1/4 seam allowance above the seam line.

 Mark those lines with the compass.   There is no way we can cut this one piece of paper to make both templates, so grab another piece of card stock to make the inner circle template.

 You don't need to cut the card stock into a 6.5 inch square.  To determine the size of the inner circle template, take the measurement from the bottom corner to the seam line and add .25.  My seam line was 4.75 inches from the corner.  Add a .25 inch seam allowance for this and I get 5 inches even.  My inner circle template needs to have a radius of 5 inches.

 Mark 5 inches on each side of the template and then mark the curve with the compass.  This is the template for the inner circle.  Cut it out.


 Cut the original template along the line that is a quarter inch below the seam line - this is the outer section template.  The circle we are cutting out has a radius of .25 less than the seam line.

To recap:
  1. Decide what finished size unit you want and add .5 inches
  2. Cut out a square of card stock that size
  3. Decide where you want the seam line.  Measure the distance from the corner of the unit to the seam line, let's call this measurement X (feel like you are back in school?).
  4. On a separate piece of card stock mark X + .25 on two sides of the paper.  Join these line with the compass.  This is the inner circle template.  Cut it out.
  5. On the original piece of card stock, make marks .25 inches below the seam line.  Join these marks with  the compass.  Cut along this lower line to make the outer section template.
 You Can Do It!  :)

Cutting:
Square up a corner of fabric, place the outer template on it and trace.  Repeat and cut 4 outer sections.

Trace the inner template and cut out four pieces. 

Sewing:
Pin one corner of the inner circle to the corner of the outer section as shown.

Pin the other end to the other corner and shape into a C shape.

Pin the center of the curve.  You could mark the center, but that is a lot of work.  ;)  Not really, I just hate marking.  To find the center without marking, line up the corner of the outer section and the corner of the inner  circle as shown.

Look at the top side.   The inner circle will peek out past the outer section.  That is the center of the curve.  

You want the lowest part of the outer section to line up with the highest part of the inner circle.
Wiggle the inner circle down by rubbing your fingers together until they are even.

Pin.

Work your way around the circle pinning very regularly.

Outer section on top, sew along the edge with a scant 1/4 inch seam.
Slow and steady and watch for puckers.  Repeat for all 4 sections.


Play around with the arrangement.  So many options.

But I chose this one.  Sew the units in the top row and bottom row together.  
Press seams to opposite sides.

Sew both rows together and press.  You did it!

But...
Then you start thinking of all the cool arrangements you can make with more units and you decide to make a block with 3 inch finished units instead of 6 inch finished units.

 Make the template (3.5 inches square) and cut out 16 inner and outer sections.

 Sew as shown before - the curves are tighter and more challenging.  
I found my seams got too scant and I needed to trim the edges of the units to square them up to 3.5 inches.
Play, play and play some more with the arrangement.

 Then join the units in rows, and finally join the rows.  Some of the seams get a bit bulky, so I ironed the bulky seams open.
 There you go!  

Two options for your Drunkard's Path block.