For this weeks block we are going to practice making half square triangles and make a beautiful block in the process. I love pinwheels! They are such a cheery block.
............
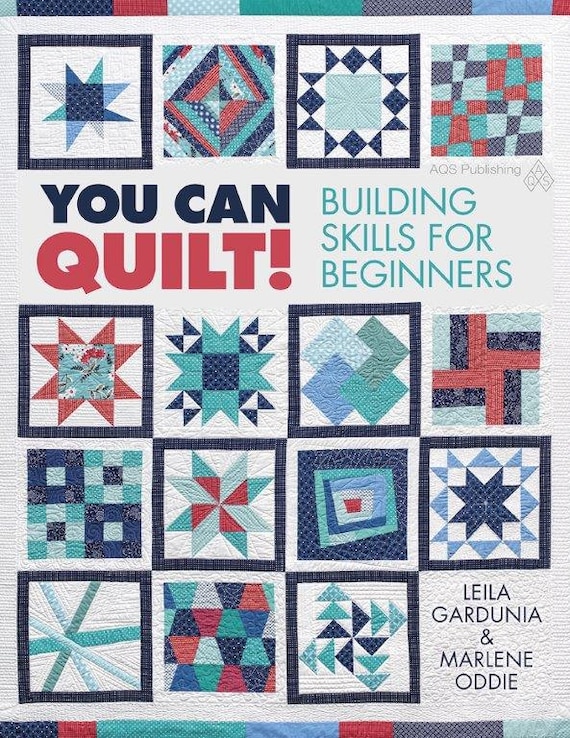
Edited (5/15): The Skill Builder Sampler will is available for purchase in book form! It has been renamed "You Can Quilt! Building Skills for Beginners" but covers the same skills with the easy, medium and challenging blocks and is a million times better than the original quilt along. It is perfect for the beginning quilter or the experienced quilter who wants to branch out and learn new skills. Find more information and order a signed copy in my Etsy shop or order on Amazon . Because of the release of the book some posts have been removed.
............
I feel like a mom who is dropping her kids off at the sitter's for the first time, but I know you will be in good hands. Vanessa is one of the funniest bloggers out there and we have a very-distant-and-unknown-to-her connection: my sister-in-law's sister is one of Vanessa's super-small-town friends. Plus Vanessa is moving next week and will only live 2 and a half hours away from me. I know, BFFs, eh? ;)
Ok, go take a look at her tutorial and then head back here to read my additional notes.
Cutting:
Cut the white squares as directed, but if you want 5 various colored pinwheels (like mine) cut two 3 inch squares from 5 different fabrics.
Sewing:
Quick Tip: Chain stitch (just feed the next piece in without taking the first one out) down the diagonal of all 10! squares. It will really speed the sewing up. When you are done sewing all 10, don't clip them apart, just feed the chain of squares through the machine again, stitching on the other side of the line.
Sewing the HST Together: When you lay your two HST together you should be able to feel the folds made by the seam lines butting up against each other. Wiggle the pieces between your fingers until the seam lines are right up next to each other.
When you sew the two sets of HST together, make sure your seam line (the horizontal one in the picture) intersects the diagonal and vertical stitching lines.
I am sorry the picture is so blurry. Can you still see it?
This will ensure that your points in the middle of the triangle aren't cut off. (My points still weren't perfect, but it helps.)
After all four HST are together in a pinwheel, you can press open the middle seam as Vanessa directs, or take the middle seam between your fingers and pull it apart just a bit in the middle - just wiggle and pull until a few stitches come undone. Press one side up and the other side down. It makes the intersection of all those seams less bulky and makes a cute pinwheel on the back too.
When you sew your large white blocks to the pinwheels, press to the white.
I think that is all I have to add. If you have any questions, please leave a comment and I will answer them here. Here is another block in different colors that I made last night for my Stars and Pinwheels quilt.
Are you ready to do it?!?


Okay. If you think we can do it. I've done a ton of HST's in my X Marks the Spot quilt so I can do this! I just hate points...
ReplyDeleteThis block is so so cute!! I can't wait to get started!!
ReplyDeleteI've been looking forward to the We Can Do It! Sampler, but some family stuff kept me from participating in June. Can I still join in? you're doing a fabulous job with this QAL, BTW. I've enjoyed reading the posts even though I haven't been sewing along :)
ReplyDeleteI recently came upon your blog just wanted to say how much I am am enjoying it. I am so new to the world of quilting that what you're showing is making it much less intimidating to jump in on a project. My only question is whether it would be possible to include something that would help decipher some of the abbreviations. I don't know if that would be too distracting to your experienced readers but it sure would help us newbies. Thanks for your great blog and for considering this.
ReplyDeleteHi
ReplyDeleteI am looking forward to having a go at this one. Silly question. How do I attach the 'we can do it' button to my blog?
Any answers welcomed....
Mammafairy, it's not a silly question. It took me ages to figure out how to do that when I first started blogging years ago! Just in case nobody else answers you, go to the text box under the We Can do It button on Leila's side bar. Highlight the text and press Ctrl C on your keyboard to save it. Here is where it gets tricky for me to explain...Go to your own blog's Dashboard and click on Design, then Add A Gadget. This will come up a with a list of things, just follow the prompts. Hope this has been helpful!
ReplyDeleteI made this block from start to finish in one afternoon! One of the fabrics I used from my stash wasn't cotton, and it frayed badly, but I persisted, and am happy with the result. Oh it is nowhere near perfect, but at least I have the technique down pat. I've put a photo on your Flickr group.
ReplyDeleteThis one was so fun (:
ReplyDeleteMany thanks to Gina E who enabled me to add the button!
ReplyDeleteJust popping in to say that I think you left a wonderful and insightful comment on Aneela's blog today!
ReplyDeleteYou're very welcome, Mammafairy!
ReplyDeleteLoving the Pinwheels! http://www.jonbarclay.com/2011/07/we-can-do-it-skill-builder-quilt-long.html
ReplyDelete