 |
| I've got a new helper! |
 |
| Too cute! |
............
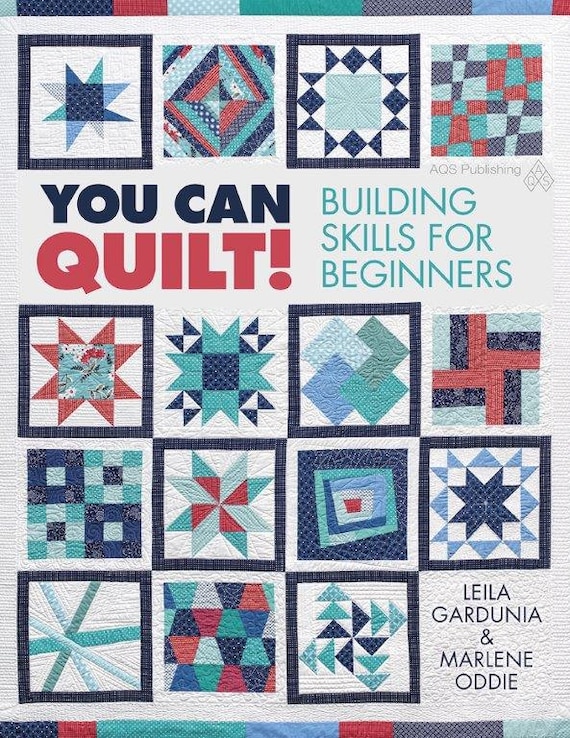
Edited (5/15): The Skill Builder Sampler will is available for purchase in book form! It has been renamed "You Can Quilt! Building Skills for Beginners" but covers the same skills with the easy, medium and challenging blocks and is a million times better than the original quilt along. It is perfect for the beginning quilter or the experienced quilter who wants to branch out and learn new skills. Find more information and order a signed copy in my Etsy shop or order on Amazon .
.
...................
Background:
Cut a square 1/2 inch larger than your finished block size - in our case a 12.5 inches square.
Fan Blades:
The blades can be as tall or as short as you would like, but a good rule of thumb is for the blades to be two thirds the size of the finished block. In our case that would be 12 x 2/3 = 8 inches tall. Remember that this is a wonky block, so the measurements don't have to be exact.
Find a piece of fabric about 8 inches tall and cut the straight edge at an angle.
Move the ruler over and angle it until you have another wedge shaped piece. Cut.
Repeat as desired.
The blades can be fairly rectangular or quite pointed. The points should be at least 1/2 inch wide or you will have problems with bulky seams. A good rule of thumb is for the pointy ends to be between 2 and .5 inches wide and for the tops of the blades to be 3-6 inches wide. Each fan will need 6-9 blades, depending on the width of the blades.
Place two blades right sides together and stitch from top to bottom with a 1/4 seam allowance. Press the seam to the side.
Press under the top edge of the fan 1/4 inch.
Pin to the background fabric.
Zig-zag along the edge or use your favorite decorative stitch.
Yea! Fan blades attached!
Corner Round:
Lay the square over the corner of the block so that it over laps the background fabric by at least 1/4 inch.
Make a notch with scissors at least 1/2 inch above where corner square overlaps the fan blades.
Repeat on the other side.
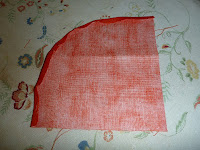
Cut a curve between the two notches. Ok - kind of scary to make a free form curve, but you can totally do it. Trust me, it is very freeing.
Press under the curved edge of the corner piece about 1/4 inch.
Pin the corner round piece in place - be sure that it covers the edge of the background fabric - and stitch along the edge.
Trim the block to size by flipping it over and cutting off the excess fabric along the edge of the background fabric.
You did it!!! One wonky fan block.
Enjoy!


Oh, yea!! This looks like a lot of fun!
ReplyDeleteWhat a cute helper!
ReplyDeletei like that thanks
ReplyDelete