
Alright, today I'll show you how to make a corner start block. It is sometimes called a landscape block because of how the fabric in the finished block looks like rolling hills. The same steps are used in making this block as the center start block.
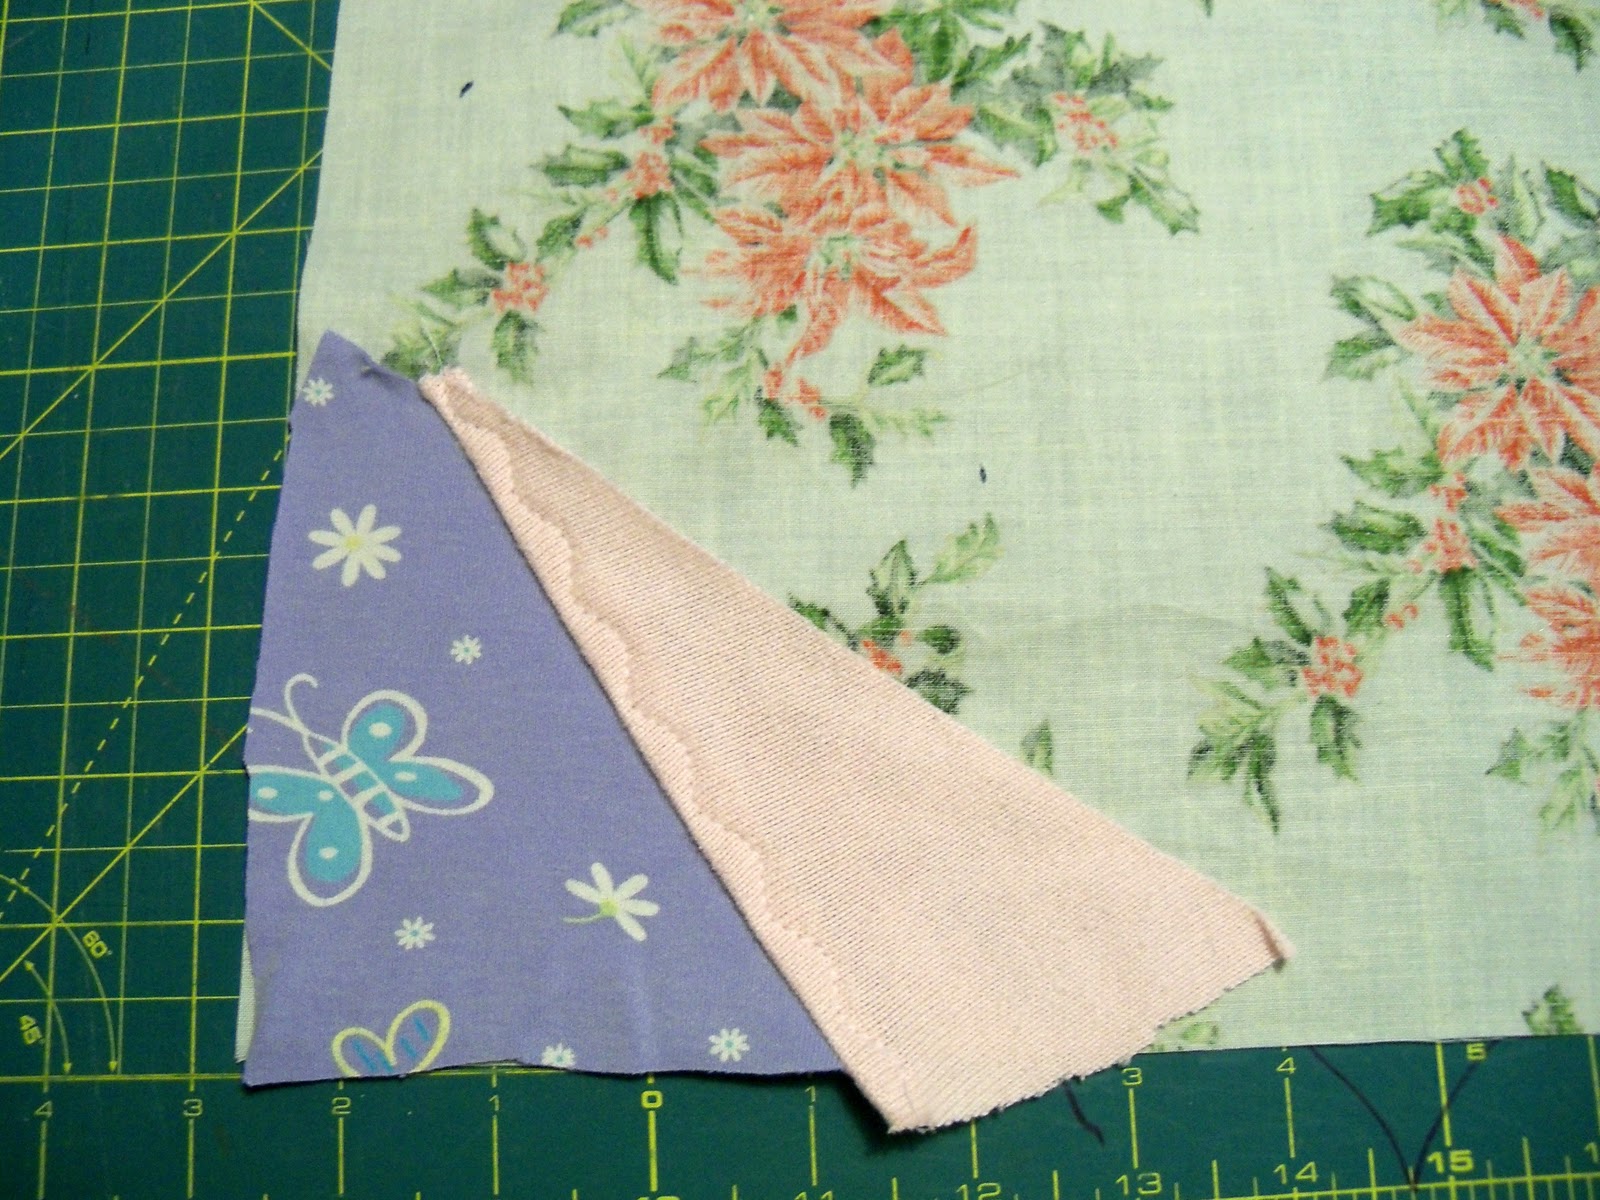
Step 1: Place a piece of fabric in the corner of your foundation block

Step 2. Audition, sew and top stitch your next piece of fabric
And the next...

And the next...
The piece of denim I added had a finished edge in one side, but I didn't top stitch it down right away.

I added another piece of fabric...

...and then zig-zagged it down.

Keep adding fabric. The curved coral piece was pressed under and top stitched directly to the block. I find that is the easiest way to add curved pieces.

Ahhh...Finally, something new. Let me show you a trick for attaching trims in your seams. This works especially well for laces.
First, cut your trim to the right length.

Sew the trim to the RIGHT SIDE of the fabric you are attaching to the block.

Place the fabric and trim on the block right sides together.

Sew together, stitching just to the left of the stitching line left by sewing on the trim.

Flip. Top stitch if desired and Voila! The perfect amount of trim peeking out.

Just a few more pieces to sew on...

...and we are done.

Trim the block down to 9 1/2 inches (or whatever size you are making).

And admire your handiwork. :)

Here is another one I made.

Give this block a try and post your pictures on the ORBQA flickr page.
Thanks Leila...that rick rack trim hint is a great one for other things too....I am learning a lot. Now if I could just fine the time to untangle that mess of home deco fabrics that I washed!:)
ReplyDeleteThanks! Love those onsie snaps.
ReplyDelete