
This block is quite fun to make.
1. Start off with four squares of fabric between 9 and 7 inches "square". Of course, they don't have to be square, because this is a crazy quilt after all.

2. Sew the four pieces into a 4-patch block. Add trim and decorative stitching as desired. (Notice how mine isn't

3. Cut - Make a semi-random cut across your fabric. One thing to keep in mind when planning your cut is, "Is the length of this cut more or less equal to the length of one of the other sides?" Because what we are going to to next is....

4. Take the cut section and line it up with another side of the block. If your cut piece needs to be longer or shorter feel free to sew on a scrap or slash off a hunk.
5. Sew the cut piece onto the block. Add decorative stitching and trim as desired.

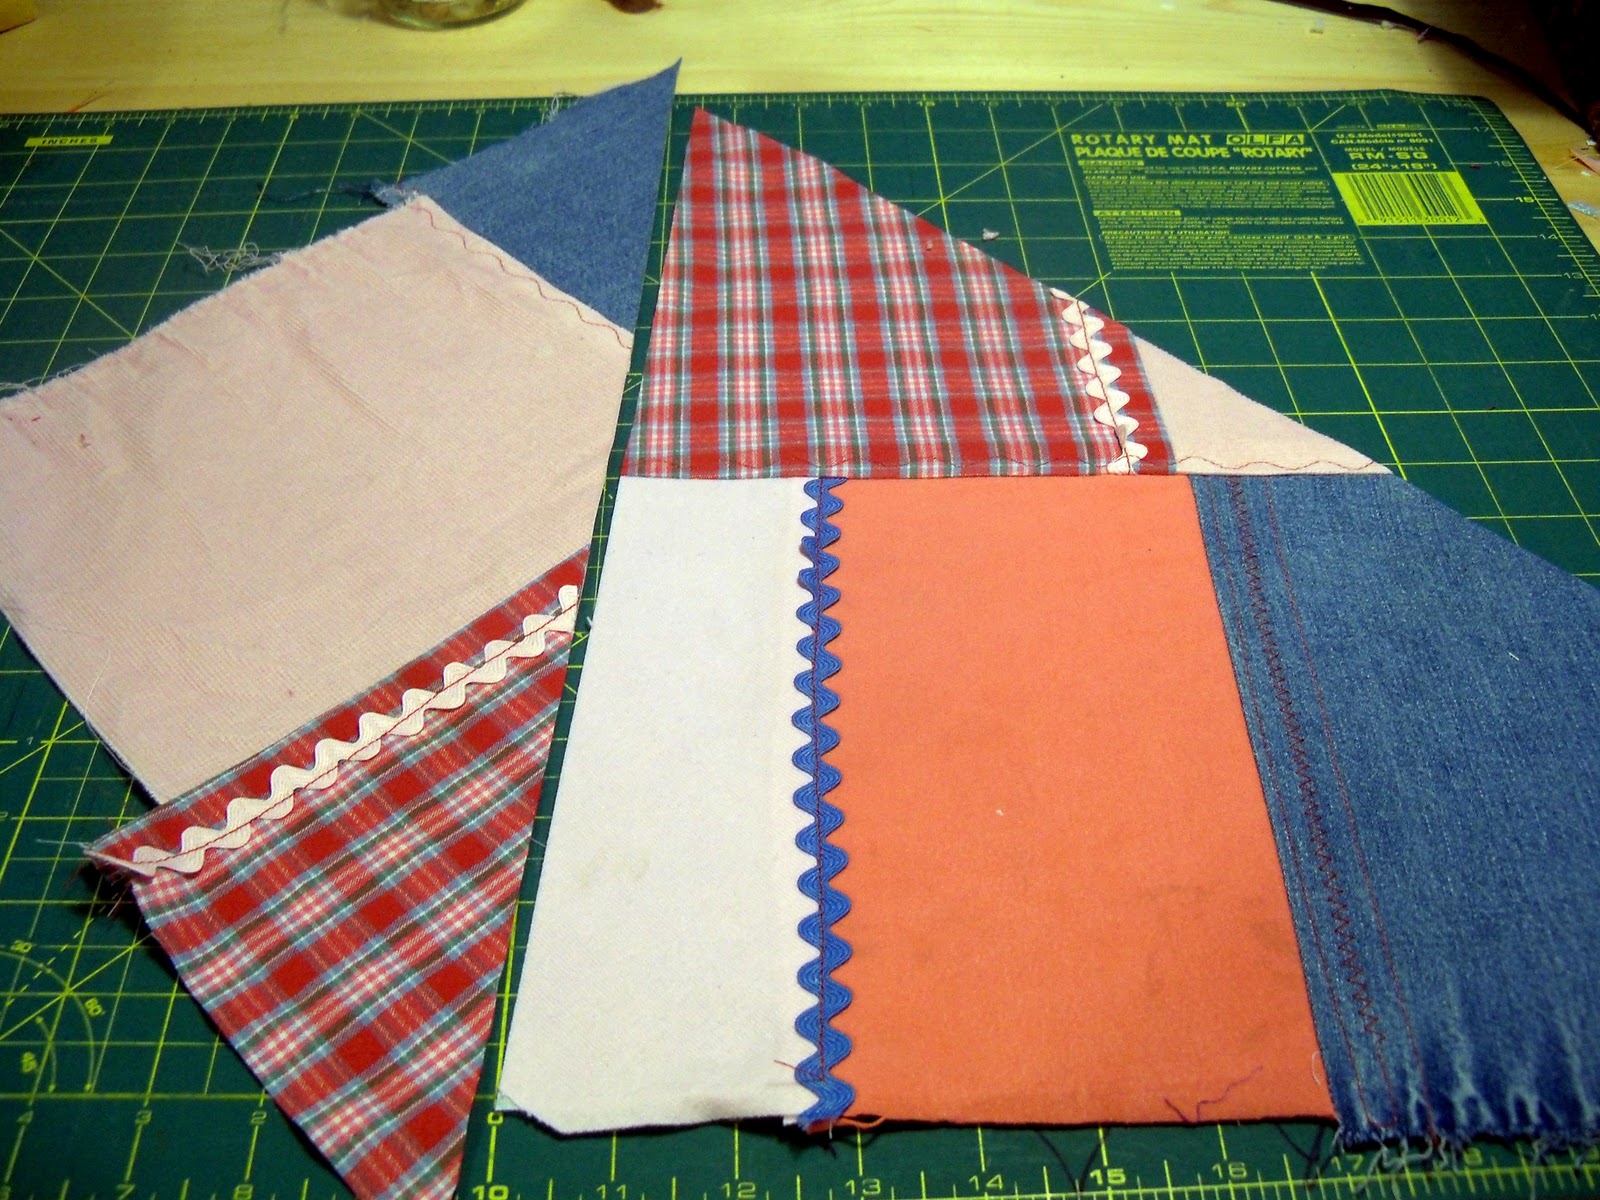
6. Slash off another hunk of fabric. The idea is to cut up and distribute the different pieces of fabric throughout the finished block. Here I cut a swath off the bottom of the block.

7. Line it up with another side...

8. And sew it on. Take a second to look at your block. Where are there still large pieces of fabric? What can be done to cut and distribute them? In this block the bright pink plaid and light pink solid are still pretty big, so I cut into them next.

9. I cut right across the block (and trimmed up a side while I was at it.) Don't be afraid to really slash the block apart - it all works out in the end, I promise. :)

10. Reposition - I flipped the fabric down to the bottom of the block and sewed it together.

11. Evaluate - The block is starting to look pretty crazy, so I put my ruler on top of the fabric to see what the final block would look like. The fabric is bigger than I thought it was and I could place the ruler here....

...or here. I like this second position better because the pieces of fabric are smaller and more "crazy." The only problem is that I don't have quite enough fabric in the upper right hand corner.

...so I add some.

12. And do the final trim.

13. Oooh and Ahhh as desired. ;)

And don't worry, that large leftover piece is going to be the starting point for my next block.


Go give it a try and remember to post your pics at the Old Red Barn Co. Quilt Along site on flickr.
If you have any questions, let me know.
Good job of illustrating this technique.
ReplyDelete