Showing posts with label HST. Show all posts

Monday, January 23, 2017

HST Baby Quilt Finish


Well, this has been finished for awhile and is actually the first baby quilt that I have ever gifted before the baby was born. Crazy, I know.


Yellow, aqua and gray was the color theme of the nursery and I decided to use solids so it would match everything and be able to graduate easily to an older child's room. It is backed with aqua flannel with some on-point straight line quilting. I don't know how people do dense straight line quilting. I was going crazy with this much. That being said, I have a quilt ready to be quilted that I am going to straight line quilt. (Bangs head against wall.)


Before deciding on solids, I had pulled out a pile of yellow and aqua prints and just had to make something out of them.


I made a small quilt with no batting to be used as a "car seat" blanket. Or a doll blanket? I don't know. I just wanted to make something out of that stack and it ended up kind of small. Small (about 28" square) but cute.

I have more finishes waiting in the wings and hope to post again soon!

Friday, November 25, 2016

HST Baby Blanket


It is official. My neighbor now knows I am a crazy quilt lady. He was outside mowing when I was taking this picture. He was bound to figure it out sooner or later. :)

This half square triangle beauty is for my brother and sister-in-law who are having their first baby next month. She is using yellow, gray and aqua in the nursery and wanted something with a modern and/or jungle and/or woodland feel. I stuck with modern so that it would be able to go with anything and grow with their baby.


If I had it to do over, I would limit the number of different grays and their overall percentage. It turned out much darker than I was envisioning. It is going to have an aqua flannel backing and I am trying to decide whether to bind it in yellow, dark gray, or aqua. I am leaning towards the aqua right now, but I will see how it looks after I quilt it up.

I am thinking straight line quilting on either side of the seams. I hate straight line quilting. I mean, I love how it looks, but I get bored/burnt out after about one pass. Maybe every few passes I can get up, stretch and get some pie...that might keep me going. :)


Monday, May 18, 2015

That Quirky Scrap Quilt (along) - Making the Half Square Triangles


 Welcome to part three of That Quirky Scrap Quilt (along)!  Last Monday we made the 4-patch units and today we will make the 32 half square triangles units (HST).

If you have not already cut the squares for the HSTs, cut (32) 5" squares.  If you have some extra 5" charm square laying around, they are perfect for this.  Take 16 of the squares and draw a line from corner to corner on half of them.  I like to pair the light and dark colors, so I drew lines on the 16 lightest fabrics.

 Place the two 5" squares right sides together and sew 1/4" on both sides of the line.

 Set seam, cut in half and press open.

 Trim to 4 1/2" square by lining up the seam on the 45 degree line on the ruler.  Make sure the inner sides are slightly over the 4 1/2" mark and trim around the ruler.

 Rotate the HST.  Place the diagonal line on the seam and the HST inner edges on the 4 1/2" lines.  Trim the outer edges of the block.

Now you have two perfectly sized HSTs.  Repeat for a total of 32 HST units.


I have really had a fun time making this quilt so far and committing to posting instructions each Monday has made me stay focused and on task - no easy task.   (Links to all the posts can be found here.)  Next week we will make the quarter square triangles and then we will put it all together.
Linking to Scraptastic Tuesday.

Wednesday, May 16, 2012

WIP Wednesday


I have been cutting a lot this week.  I decided to jump into the Patchwork Prism QAL and this is what I have on my design wall so far.  I think I need a bigger wall...  ;)  I was originally going to have the quilt be dark in the center and fade out to light, but it just didn't look good when I laid it out.  I am rather nervous about starting to sew this one.  I have a huge mix of fabrics: 100% cotton, cotton/poly blends, linens and muslins and some of them are going to be hard to sew with, esp. as they are cut on the bias and prone to distortion.  Let's not even mention the fact that I used a template to cut them and template cutting is notoriously inaccurate (well, at least when I am doing the cutting).


Last night I also cut out a huge pile of white squares to alternate with my vintage eye-spy charms.  I have discovered that I need to be listening to something if I am doing a lot of cutting and I have been listening to the Harry Potter series this week while I cut fabric, do laundry, wash the stacks of pots and pans that have built up...  Somehow, listening to Harry Potter makes everything more enjoyable.


 I also finished these improv. fans last week (tutorial here) and sewed them together.  At last!  Do you think it needs a narrow white border on the sides or should I just quilt it up?  I am very tempted just to quilt it and get it done with at this point.  :)


What have you been working on this week?

Sunday, April 22, 2012

HST Pillow


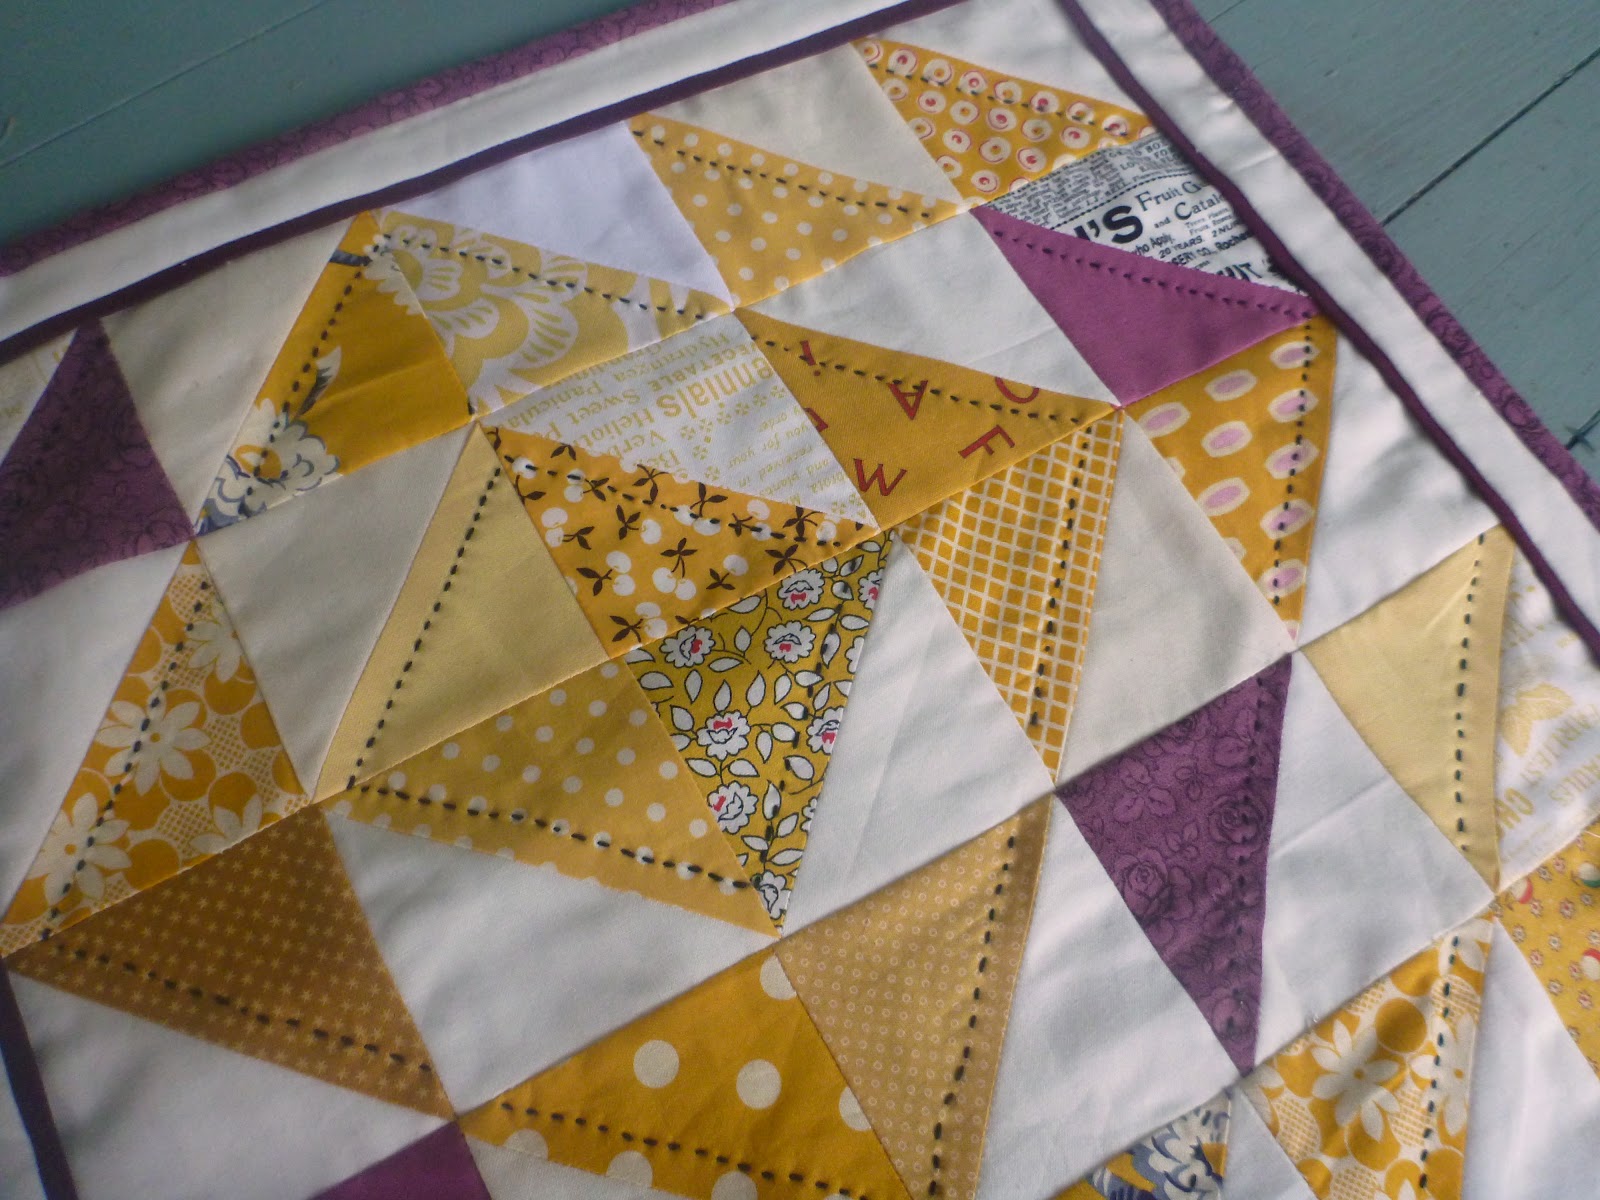
I meant to have my HST quilt done in time to enter into the Festival of the Half Square Triangles, but that is just not happening.  I did however steal some of the hst and make this coordinating pillow cover.


I hand stitched along the edges of the hsts with black pearl cotton.  It was my first time doing hand stitching in quite awhile, and my first time ever using pearl cotton.  I had been thinking about hand quilting the large hst quilt, but now I don't think that I will.  ;)


I added a flange and a one inch border around the edge.  I love how it frames the design.


For the back, I used a print from Echo (oh, how I love it!) and burgundy kona cotton.  Who would have thought that burgundy could look so good?


Now I just have to pick up a pillow form the right size.  Be sure to jump on over to the Festival of Half Square Triangles to see all of the other beautiful things people have been making.

Tuesday, April 10, 2012

350 Half Square Triangles.

I cut out tons of 3 inch half square triangles last fall for my HST quilt using my friend Julie's Accuquilt Go!.  Then I decided that I still wouldn't have enough for the size of quilt I wanted and cut out some more.   They are all sewed and pressed right now and I have about 350.

350 little units!   And it still isn't enough!  I really want 500, but could squeeze by with 414.  Time to borrow the Go! again.  Sometimes I wonder if cutting fabric into little pieces and sewing it back together isn't really a bit crazy.


But it sure is fun!

Friday, July 22, 2011

Block 5 - Arizona, We Can Do It! Skill Builder Sampler


This is the last week of honing our half square triangle skills.  Hopefully by the end of this block you will feel comfortable with triangles.  Last week for my birthday, my mom sent me The Quilter's Album of Patchwork Patterns by Jinny Beyer.  I Love It!  This week I chose a block from the book to make.  The block pattern was first published by the Ladies Art Company in 1897 and was called Robbing Peter to Pay Paul.   The same block was later called Arizona by Nancy Page in the Birmingham News, July 7, 1936.  We will call it Arizona since there is another popular block named Robbing Peter to Pay Paul.  (scroll down for instructions)
............


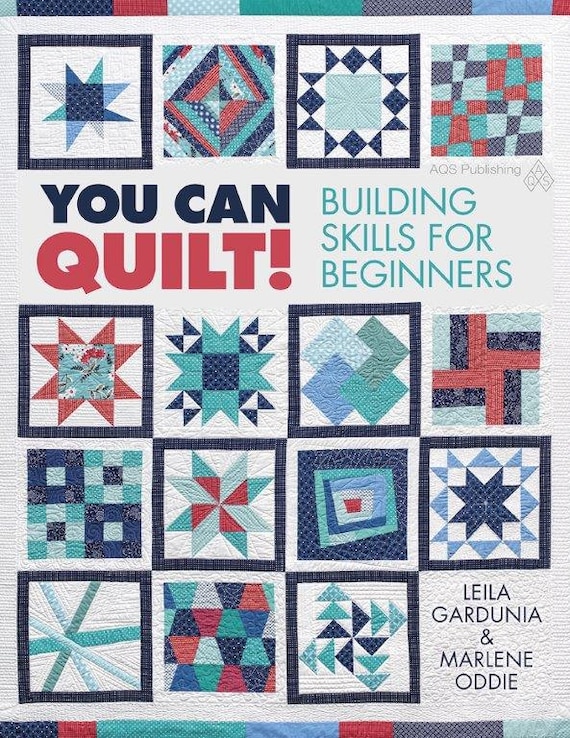
Edited (5/15):  The Skill Builder Sampler will is available for purchase in book form!  It has been renamed "You Can Quilt!  Building Skills for Beginners" but covers the same skills with the easy, medium and challenging blocks and is a million times better than the original quilt along.  It is perfect for the beginning quilter or the experienced quilter who wants to branch out and learn new skills.  Find more information and order a signed copy in my Etsy shop or order on Amazon.  
............

Cutting:


1 -  4.5x4.5 inch square (perhaps a larger print)
4 - 3x3 inch squares (out of a medium fabric, similar in color to the 4.5 inch square)
6 - 3x3 inch squares (out of your darkest fabric)


Out of your background fabric:

4 - 2.5x4.5 inch rectangles
4 - 2.5x2.5 inch squares
10 - 3x3 inch squares


Sewing:

Draw a diagonal line down the middle of each of the ten 3x3 background squares.  Match each background block with a 3x3 inch print.  Sew 1/4 inch away from the line on each side.

After you sew down one side of the squares, feed the squares through the machine again with out cutting them apart to speed your sewing.

I recently found this great tip:  before cutting the squares apart, set the seam by ironing  the blocks.  It really helps keep the seams nice when you press them open.


Next:
  • Cut the squares in half on the line.
  • Press the triangles open.
  • Trim the half square triangles to 2.5 inches square.  (I have got to learn how to sew an exact triangle.  I thought the trimming would never end.  Should I be admitting that?)
Once you have all of your blocks trimmed, arrange the block components as shown in the picture above.  

A Brief Aside - A few months ago I was thinking that I needed a portable design wall to lay my block pieces on so they wouldn't get messed up as I sewed - I hate it when I sew the wrong pieces together!  I remembered this small flannel board that I used when I taught Sunday School.  I can prop it up right next to my sewing machine, sew pieces together, iron them, and then lay them back out.  It makes it a lot easier to keep them in order.  You could make your own flannel board by duct taping some flannel, batting or felt over a piece of cardboard or thin wood.  Mine is 15x15 inches.  

Moving on...  there is no set way to sew the pieces together, but the following pictures illustrate the order I sewed them together in order to optimize my ability to chain piece.


You have a beautiful block!

Enjoy this last Half Square Triangle block.  We will be moving on to a new skill next week, but will continue to use HSTs in other blocks throughout the year.

Remember to stop by the Flickr group to see the blocks everyone has been making and to post your own.

Remember...

Follow on Bloglovin