Two weeks ago in the Skill Builder Sampler we worked with raw edge applique where the edge of the fabric shows. This week we will start on regular applique - that is applique where the edge of the fabric is turned under so there is a finished edge. There are a million ways to achieve this goal. So many in fact that I was confused -- everyone has their favorite method that they swear by. I narrowed the applique methods down to what I consider to be the top four.
............
Edited (8/15): The Skill Builder Sampler will is available for purchase in book form! It has been renamed "You Can Quilt! Building Skills for Beginners" but covers the same skills with the easy, medium and challenging blocks and is a million times better than the original quilt along. It is perfect for the beginning quilter or the experienced quilter who wants to branch out and learn new skills. Find more information and order a signed copy in my Etsy shop or order on Amazon .
.
 |
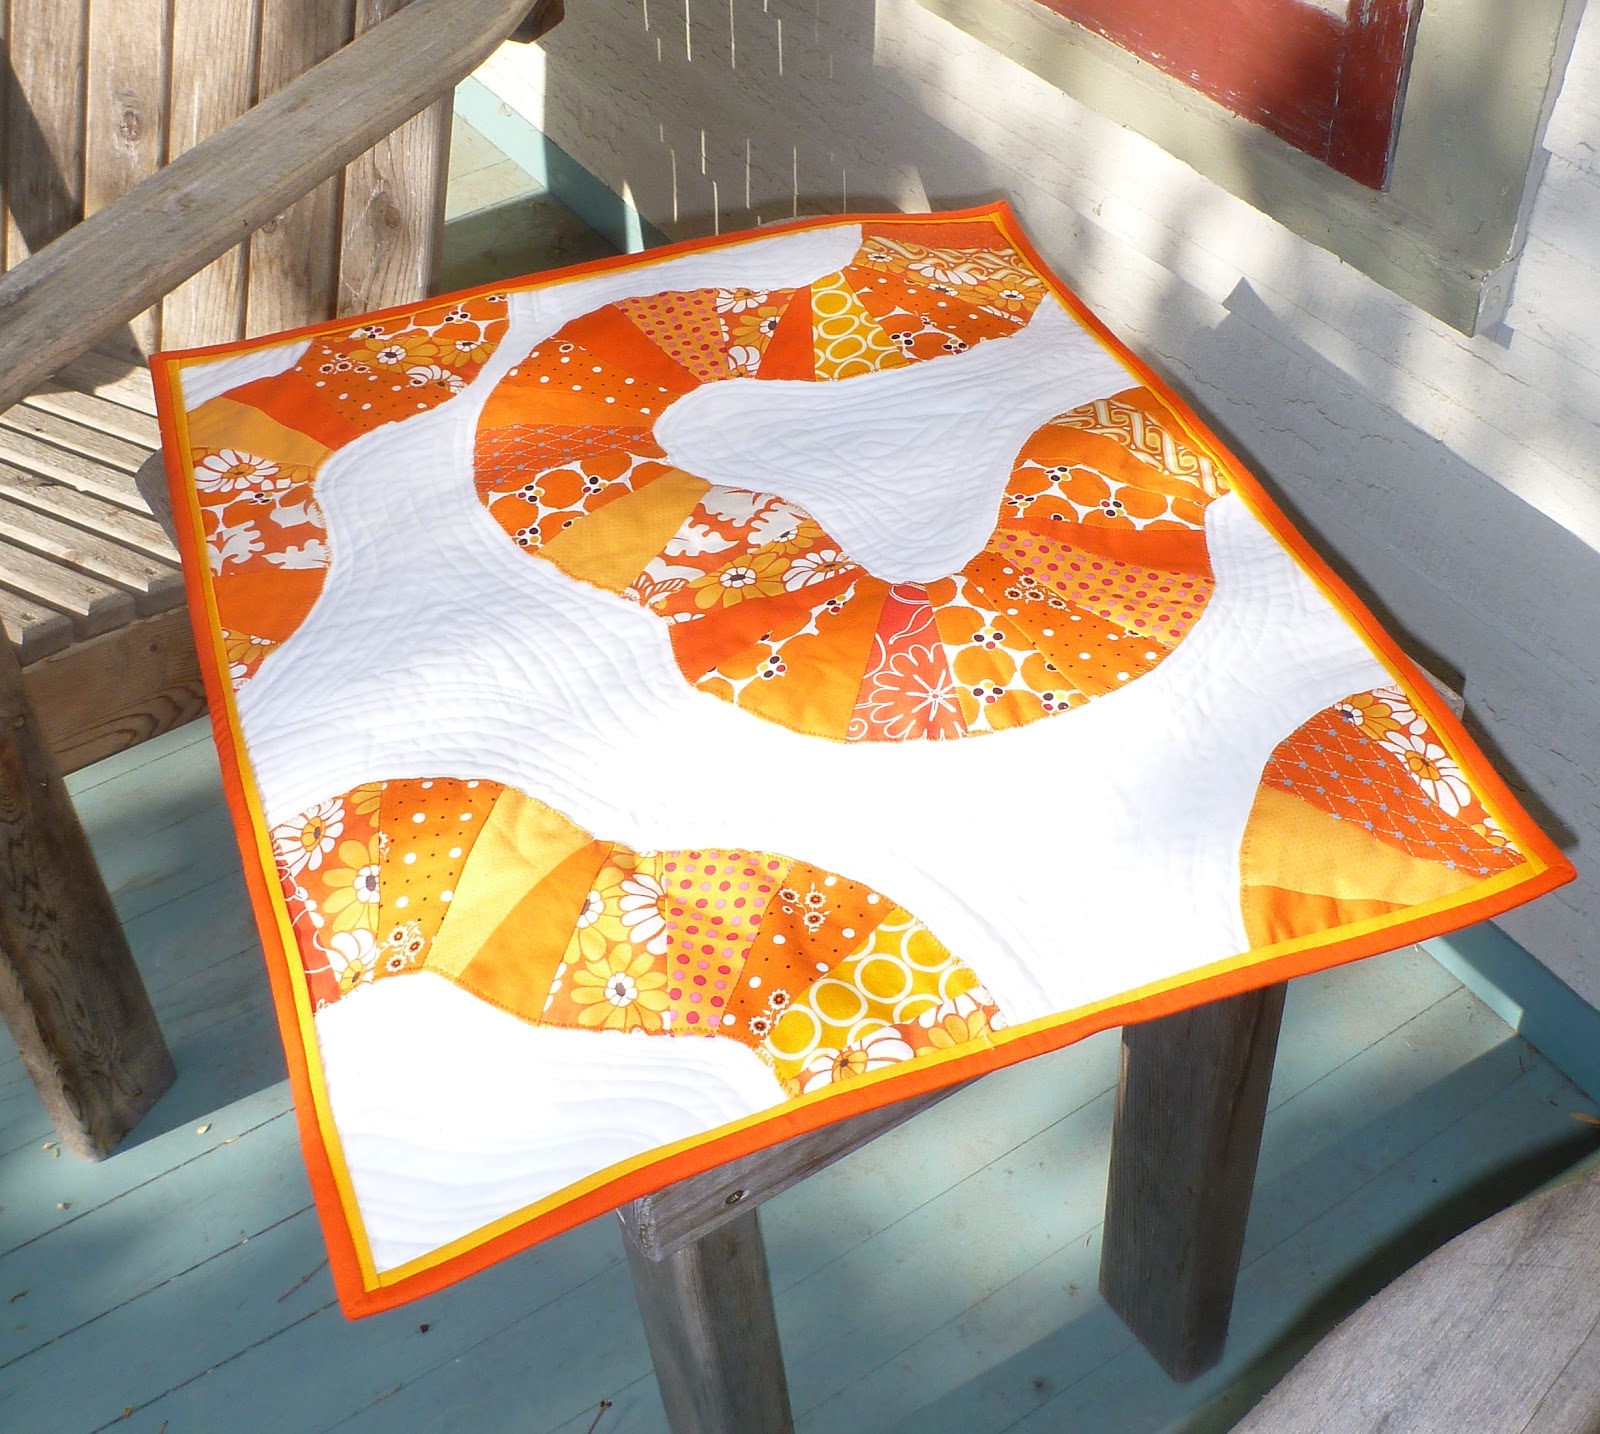
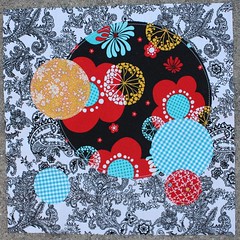
I'm not 100% thrilled with this layout.
I was going for a sweeping arc and got...well, something else.
Oh well, I can always add more circles if I want later. |
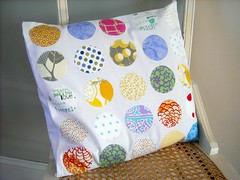
The block for this week is simply be a series of circles of various sized appliqued onto a square background. I wanted to make a block where we could practice each of the different methods and see which worked best for us. I would urge you to use a different method for each circle so you can see which method you like the best. The methods differ in how they prep the fabric to be attached - the way the fabric is stitched on remains the same. You can machine or hand stitch your circles. I swore I would never hand applique - way too slow and too much work, but it is actually faster than you might think and very calming. You can prep all your circles and then bring them anywhere with you. It might be a good way of avoiding talking with Uncle Fester at the family Christmas party. :)
Use your creativity in size and placement of your circles. The sky is the limit!
Supplies
- 13.5 inch square of background fabric Cut the background fabric a bit larger and then trim it down to 12.5 inches when you are done appliqueing on the circles.
- A variety of fabric scraps for the circles
- Freezer paper You can find this in your grocery store next to the plastic wrap and aluminum foil. We will only be using a bit so you could always borrow a scrap from your neighbor. :)
- Needle and thread Most people swear by straw needles, but we are just starting out, so any thin longish needle that you have should be fine. It is also recommended that your thread color match the color of fabric your are attaching to your background. I didn't have the full rainbow of thread colors so I just used white (my background color) when I didn't have a specific color - not ideal, but it works.
- Compass or various sized circles to trace
- Card stock, interfacing or dryer sheet
- Iron, pins and scissors
I started to take pictures of all the different methods, but my pictures weren't great. Then I found a series of You Tube videos on applique. I think the videos make showing how to applique much clearer. Make a circle template in whatever size you desire and then follow the directions for each method. By the time you are done you will have an idea of which method of applique you prefer.
Needle Turn
In needle turn applique, you simply trace the applique shape onto the fabric, cut between 1/8 and 1/4 inch around the shape and then turn under the edges with your needle as you stitch around the shape. And yes, it is easier said than done. I found that I used my fingers to turn under the edges of the fabric more than my needle, but I think that I would improve with practice. This method has the least amount of prep and I think it would be the fastest and easiest method with practice.
To learn how to needle turn applique, watch this great
video on You Tube with Nancy Ellen.
Freezer Paper
I was always confused when people talked about freezer paper applique. That is because there are about a million ways to use freezer paper in applique. I am going to link to the methods that are most common and seem to work the best.
Freezer paper has a mat paper side and a shiny waxy side. If you iron freezer paper waxy side down onto fabric it sticks well and can be easily removed. It can be ironed on and removed multiple times before it loses it's sticking power. It is these properties of freezer paper that are exploited to make applique easier.
This
video produced by Connecting Threads shows how to use freezer paper to turn under the edges of the fabric. The freezer paper is kept in the fabric while it is sewn onto the background fabric and is removed by cutting a slit on the backside of the background fabric. Instead of using the applique glue as shown in the video, you can simply pin the shape in place.
In this
video the freezer paper is removed prior to sewing on the applique.
Shabby Fabrics has a
very detailed series of videos on freezer paper applique if you want to learn more.
Most of these videos use mini irons to iron under the seam allowances - and I think that would be a good idea if you were doing tons of applique - but I found that my big iron worked just fine. Just let the tip of the iron do the work and remember you can always peel off the fabric and start over if you need to.
Cheater Needle Turn Applique
This is the first kind of applique I ever tried. You trace your shape onto interfacing, a dryer sheet or thin muslin, place the interfacing onto the right side of your fabric and sew along the line. Then you make a slit in the interfacing and turn the whole thing inside out. Make sure you really work the seams so you get a smooth line - you might want to trim the seam allowance down to 1/8 inch. Then you pin and stitch. Here is a
video that demonstrates the method.
This
video shows how to use sticky interfacing so you don't have to pin.
Gathered Circles
I think this method is the absolute best for making circles but you can't really use it for other shapes. I couldn't seem to find a great stand alone video for this method, so
skip to minute 4:45 on this
video to see how they make their perfect applique circles.
One final bit of advice:
PIN! You know how some of the circles on my block are all cool and overlapped? That is because I didn't pin one of my circles and it shifted - leaving me with a big lopsided mess that I had to cover up. You have been warned. :)
Next Friday we will start working on appliqueing vines and shapes with points. See you then!
(And before then I will share some pictures from my trip - so much fun!)

 1. Christmas Triangle Quilt - this was totally inspired by a quilt made by Amy Smart. I love it and finally got together enough Christmas Retro fabric to make it happen. I cut it out last fall, but it didn't get finished by Christmas and then it languished in a bag all this spring. I would like to get at least the top done in time for our Christmas in July guild meeting.
 2. The Micheal Miller Challenge Quilt - I narrowed down the provided fabric and supplemented it with other prints and solids based on the colors my sister-in-law is using in their nursery. This will be for their new baby...if I don't get too attached to it myself. Seriously, if it turns out at all like I am envisioning it is going to be Awesome!
 I've cut out some of the fabric to make the mini stars that will be floating in the background. And yes, that one in the middle is tiny. We'll see how that goes.
 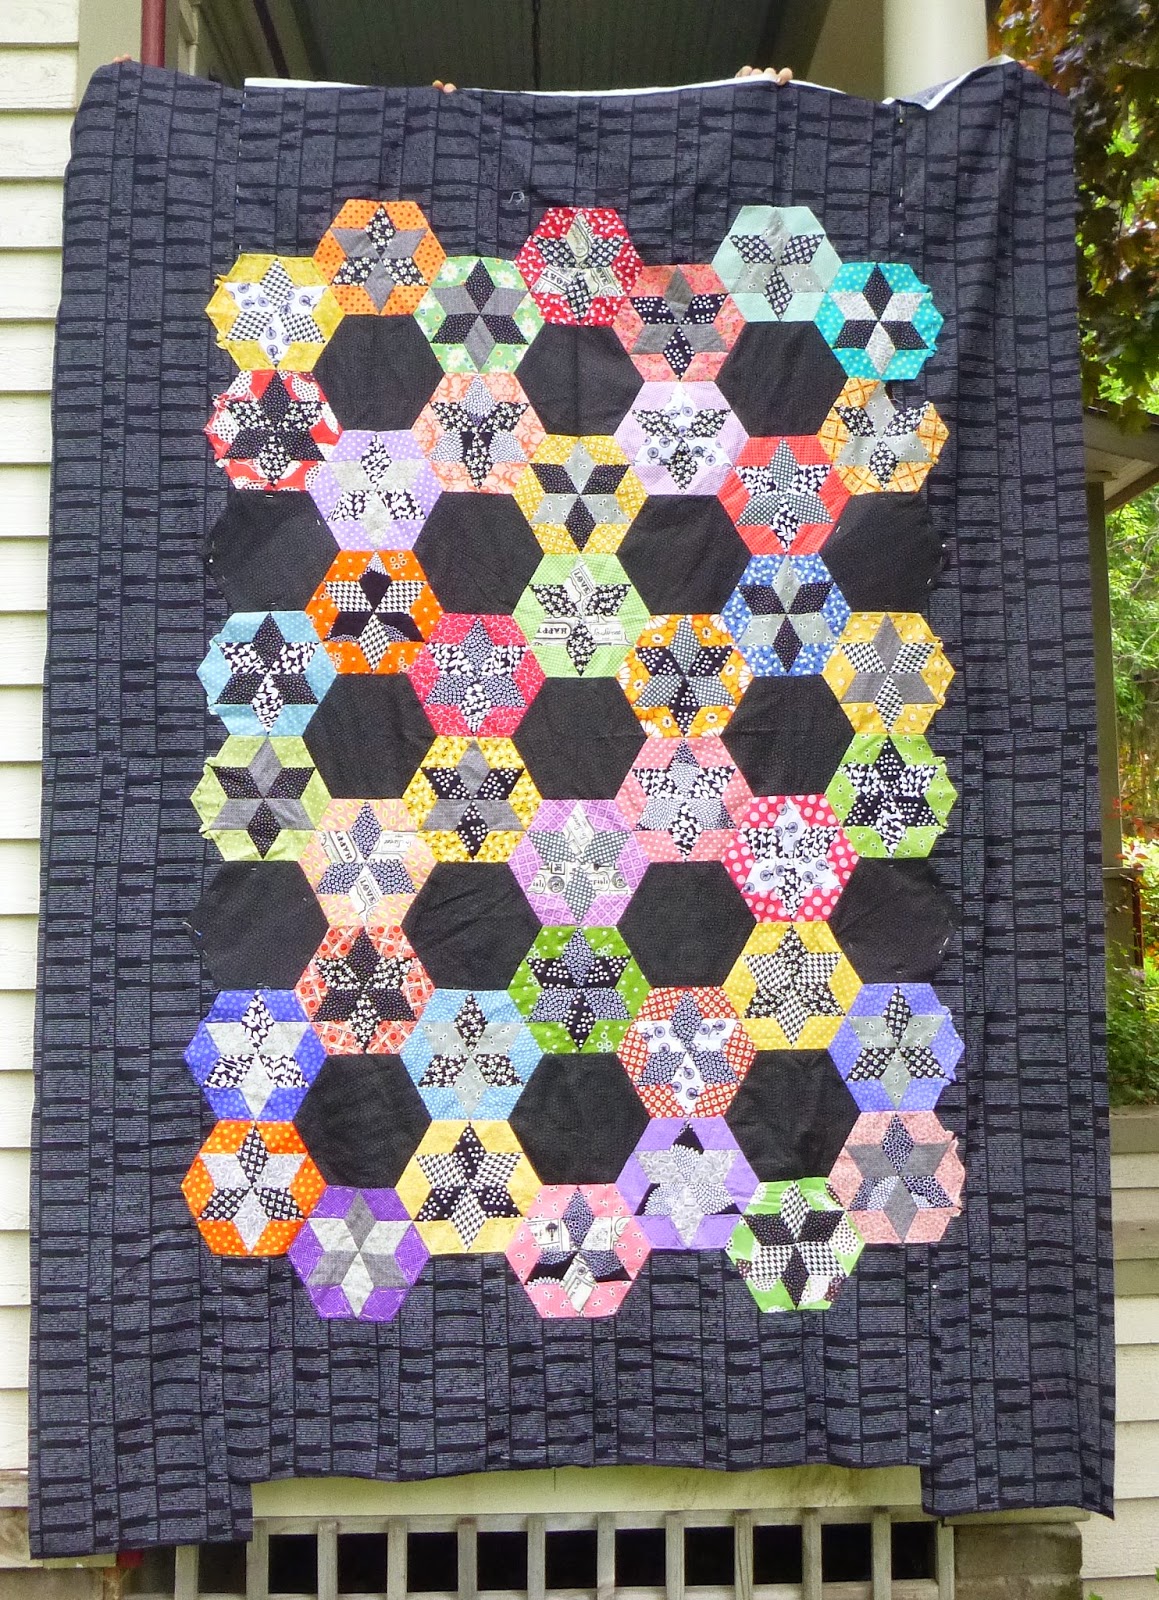 3. The Diamond Stars Quilt - I started this in ... 2012? ... eek ... and haven't worked on it in awhile. I put it away early in 2013 because I had gotten to the part where I was appliqueing the middle onto the borders and it was hard to see with the poor winter lighting. Appliqueing black fabric onto black fabric with black thread is not for the faint in heart. This picture is deceiving in that it looks like the sides are on. They are really just glued and pinned in place waiting to be appliqued. I plan on taking this on our summer vacation. (You can't go a month without quilting, right?) I might even add some decorative stitching before I quilt it.